Homemade Toys: 3 Easy DIY Learning Toys
Homemade Toys: 3 DIY Learning toys for Ages 0-6 years
Looking to give your kids a new activity without having to buy another toy? There some super simple developmental toys that can easily be replicated at home with items you probably already have. It is great to switch up your child’s toys to keep them engaged, interested, and stimulated, but it’s expensive to always purchase new items. Here are 3 wonderful homemade toys I have used, both as a child development specialist, as well as a mom, that are easy to make for each age group.
DIY Learning Toys for 0-6 Years Old:
1. Sensory Bottles: sold online for $29.99
Ages: 0-18 months
Wonderful for sparking curiosity! They are large plastic/see-through bottles with stimulating items inside, think little bells, buttons, colored rice etc. These bottles are not filled with a liquid, rather they are filled with air, and the stimulating item of choice. The baby will be able to practice grabbing and holding these bottles, as well rolling the bottles on the ground and enticing them to move to get the rolling bottle.
Supplies:
1. Large plastic/see-through bottles (Voss water bottles work best for this activity)
2. Label remover, to clean off any writing on the bottle (this is optional, they are still mostly see-through, even with the writing)
3. Stimulating items; bells, buttons, popcorn kernels, dried rice/pasta/lentils/beans, feathers,
4. Hot-glue
Instructions:
Simply placed items of choice inside each bottle and hot glue the lid securely in place.
This exercise if good for: Cognitive building skills by stimulating many of their senses, large motor by trying to grab and hold the bottle and maybe trying to chase after the bottle (wriggling, kicking, rolling etc.).
*Do not leave your child unattended for this activity if the lid is not secured.
2. What’s inside box: sold online for $49.99
Ages: 18-36 months
Fantastic for expressive language building. This is a covered box, with only an opening for the hand to go inside, where objects inside the box are not visible outside the box. Because of the varying items, it’s exciting for children to discovery what they will pull out next. Every item they pull out is a new opportunity for expressive language surrounding that object. For example, “wow! You pulled out a cow, Mooo! What sound does a cow make? What color is the cow?” The older the child, the more this game can evolve into a guessing game and cognitive building game by using the sense of touch to try and find certain objects without their sight.
Supplies:
1. Covered box or canister: A large square tissue box works well for small items, or a large coffee canister and soft cloth with cut slits over the opening for the hand.
2. Small toys/objects of interest: animals, people, cars, finger puppets etc.
Instructions:
If using a coffee canister, remove the lid and cut the plastic cover out, leaving the seal of the lid to snap back in place. Take a cloth and cut out a criss-cross line to create an opening for the hand. Place the cut out over the canister and put seal of the lid to hold the cloth in place. Fill the canister with items of choice. If using a tissue box, just simply use when tissues are gone and place desired items inside.
This activity is good for: Building expressive language skills by inciting conversation, sensory of touch and cognitive building skills by using one sense to reason and problem solve.
3. Beginner’s Hammering Kit: sold for $29.99 ages 3-6
Ages: 3-6 Years
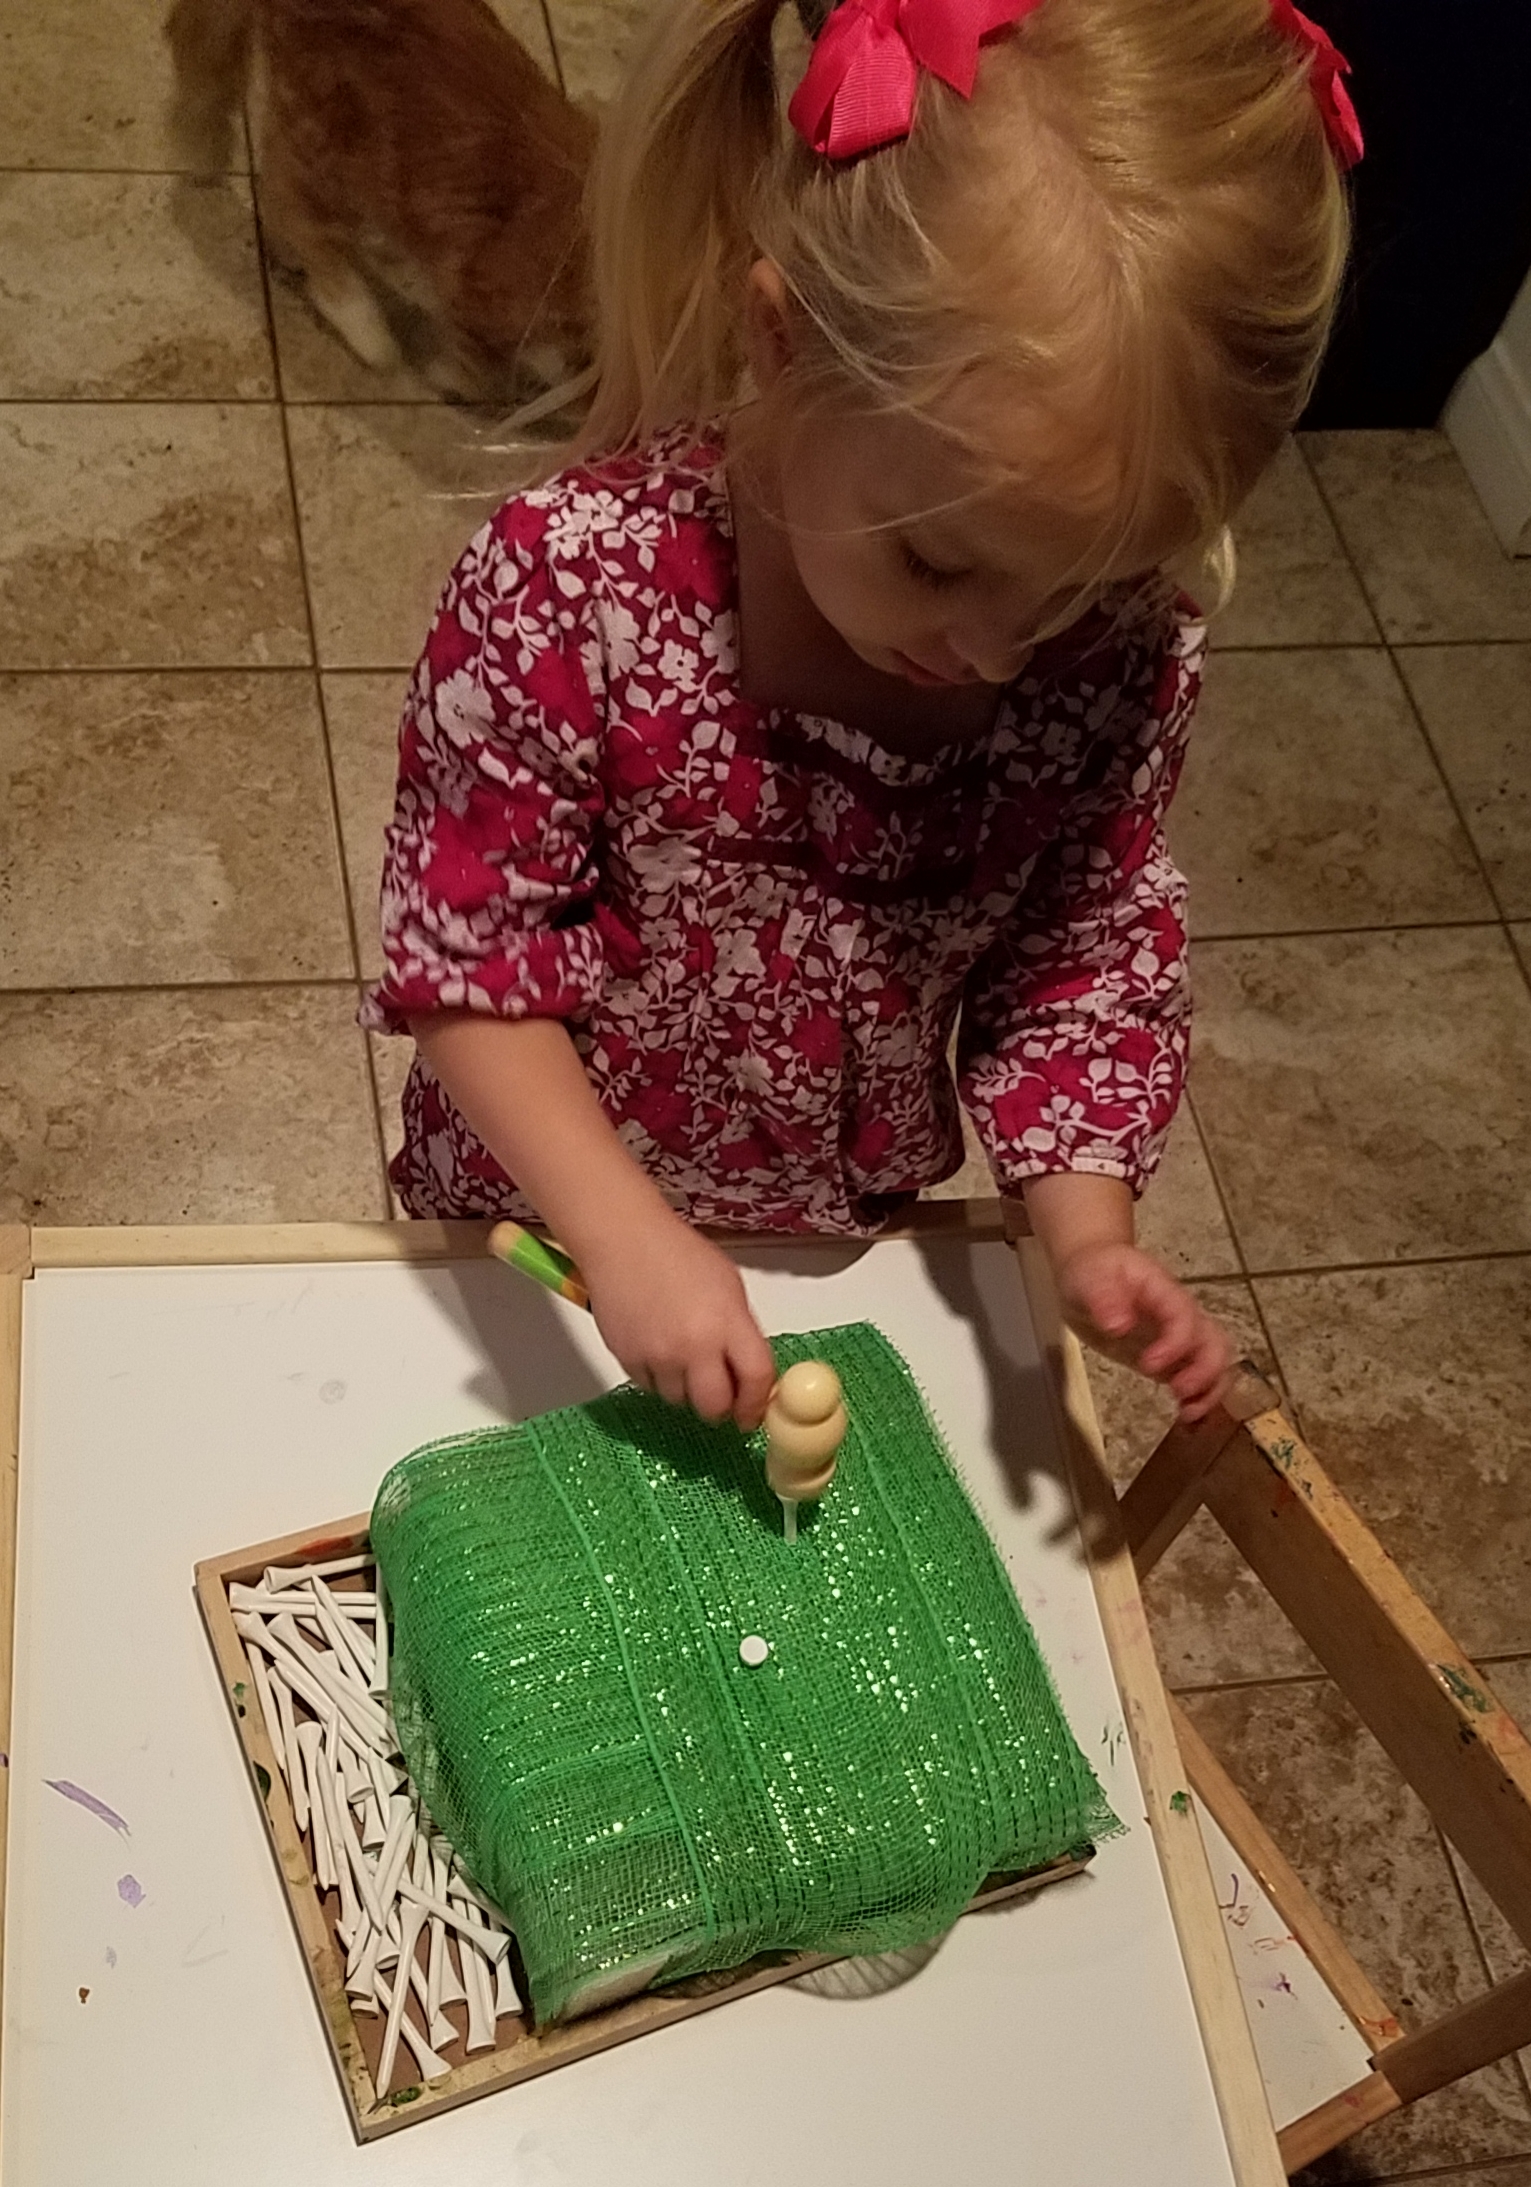
Engaging activity that works on multiple developmental skills at once. This is easily made by just picking up a few pieces of flower foam, pierce-able cloth and golf tees. Kids love the opportunity to bang, hammer, and work on constructing. This will require concentration and lots of hand/eye coordination to hammer the pieces all the way in.
Supplies:
1. 4-8 pieces of square/rectangle flower foam
2. Pierce-able cloth (I used decorative mesh)
3. Golf tees (can order on amazon)
4. Kids hammer or mallet (I used a wooden mallet from another toy)
5. Box to hold the foam in (shoe box, cardboard box, plastic box etc. I used a left over wooden tray from a Melissa & Doug toy)
Instructions:
Take the flower foam with plastic wrap still on them and hot glue the pieces together to make it easier to hold firm. Once the pieces are glued together, take your mesh and begin wrapping it around the foam. Wrap a few times going horizontal, adding some hot glue drops here and there to help secure it, then take it and begin to wrap it vertically in the same motion. I did not cut the wrap, but simply wrapped it around and added some hot glue in a few spots to help hold it in place. For the final piece, I just tucked it into the wrap and glued it. Place it in your box of choice and add the golf tees and hammer. The tees can be taken out and re-hammered several times. Once one side is filled with holes, you can flip the block over and hammer the other side.
This activity is good for: Hand/eye coordination, fine motor skills, and large motor skills. With one hand they are securing the tee in place, with the other hand they are maneuvering the hammer over and over to hit it all the way down. They have to use their concentration to accurately aim for the golf tees and not their own hand.
Looking for more simple, home-made activities? Check out Hammering Pumpkins, & Sensory Bins.
Want more parenting tips or preschool/toddler activities? Subscribe for related articles. Follow Mama Bear Britt on Instagram, Facebook, and Pinterest!


